|

deze maand
Kaart-modellen
Compositie
Technieken
Stans-machine
Galerie
Stempellinks
Snijplotters +
Snijplotter Software
Cougar
iPad
E-mail prayer
Room of Possibilities
Tijdzones
mail
| |
deze pagina is
06-10-2023 16:26
voor het laatst bijgewerkt

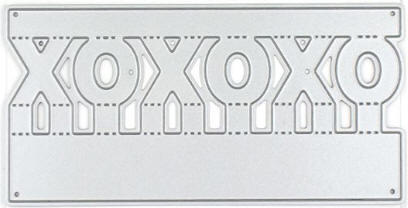
Inside pop up Xos - WF_421384
 |
| order ID |
3023905110796394 |
| DD |
7 juni 2023 |
| Die |
€1,71 |
| shipping |
€0 |
| Afm. |
|
video WF |


Jean Doeringsfeld |
To make this card:
1.Ink-blend the bottom half of your card base using a rainbow of colors
(my colors are
listed in the supplies section below) and set aside.
2.Use those same colors to ink-blend a piece of white card stock large
enough for the
Inside Pop-Up XOs die, then die cut it. Set it aside.
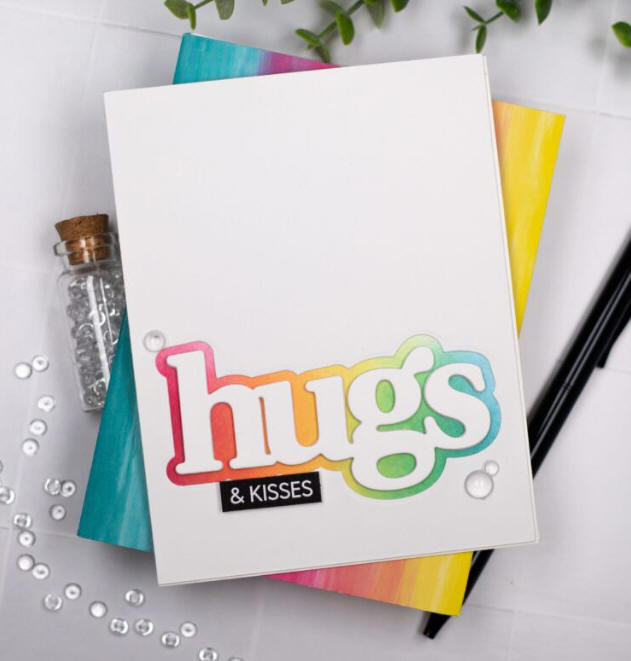
3.Die cut the shadow die from the Oversides Hugs Print die from a white
panel. I
positioned mine in the bottom 1/3 of the panel but you could put yours
wherever you
like.
4.Adhere you die cut panel to your card base. You should be able to see
the rainbow
colors through the die cut opening.
5.Die cut the Hugs sentiment several times out of white cardstock and
adhere them
together to get some dimension. I used 3 layers of 120# cardstock and
one layer of
cardstock that matches my die cut panel.
6.Adhere your Hugs sentiment inside the cut out shadow on your card
front.
7.Adhere your Subsentiment (I used “& KISSES”) using foam adhesive.
8.Use a bone folder to gently fold the Inside Pop-Up XOs die on the
dashed and scored
lines that were made by the die. It should fold into a “box”.
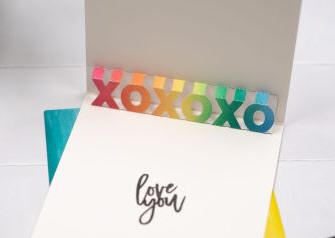
9.Making sure your X’s and O’s are facing the right way, adhere the
bottom of the “box
“to the inside of your card just under the fold (leave only a sliver of
room for the card
to fold).
10.Adhere the back of the “box” to the top flap of the card just above
the fold.
IMPORTANT: Your
card will NOT lay flat when opened. It will open to 90 degrees to
show off the dimensional pop up of the X’s and O’s strip.
11.Stamp a sentiment on the inside of the card.
12.Add a few gems to the front of the card for some sparkle! |
| |
|
![]()


